Software User Manual
Settings
Note
The current settings are only persistent as long as the pi is up and running. The settings are saved with the scan data after a successful scan. They can be loaded to scan another object with the same settings. E.g. an object what consists of the same material, color etc.
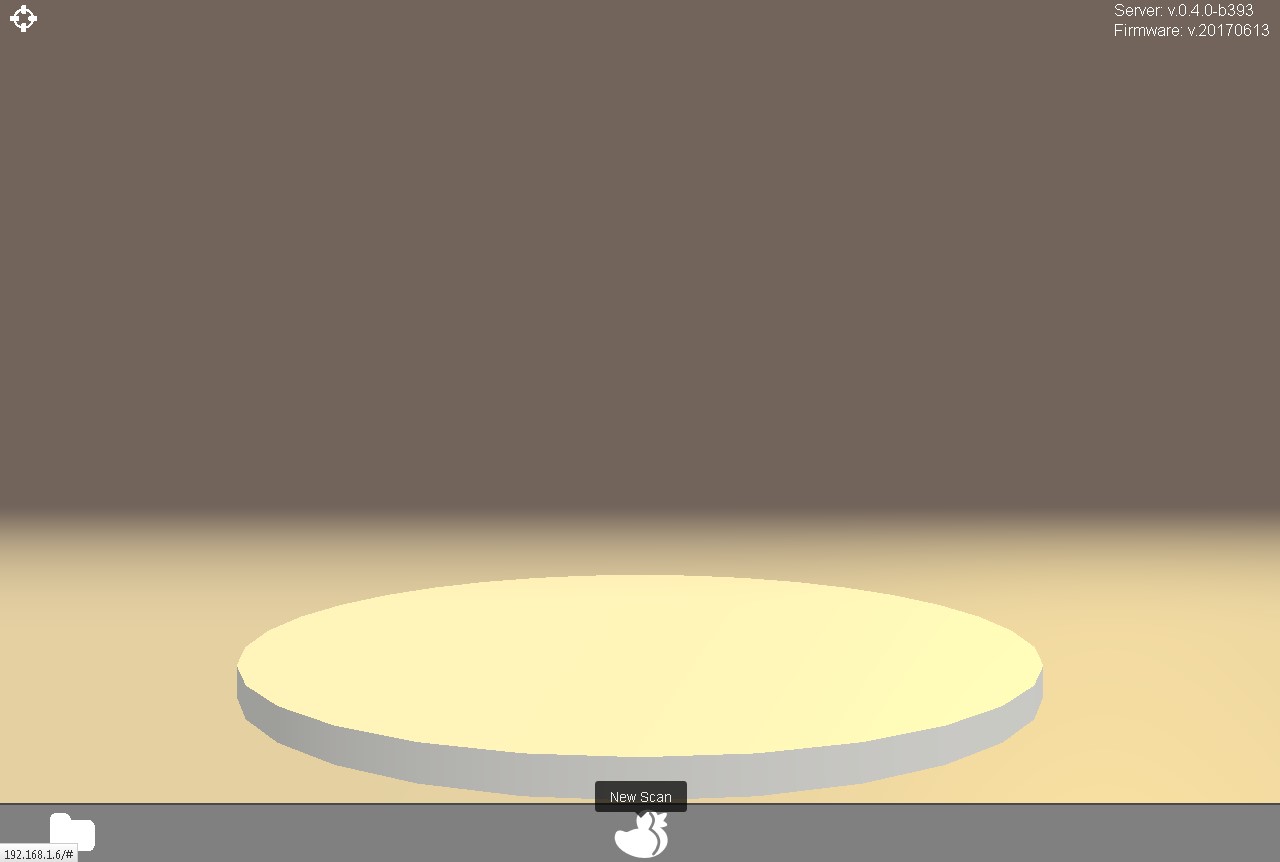
- Click on the duckling-symbol to open the scan menu.
- The threshold-slider (6) can be used to adjust the sensitivity of the captured data. Select the scan quality by using the other slider (7).
Note
The better the scan the longer is the required capture time. Sometimes it is better to start with a low resolution to control the selected settings result. If the result is nice you can perform a higher resolution scan with the same settings.
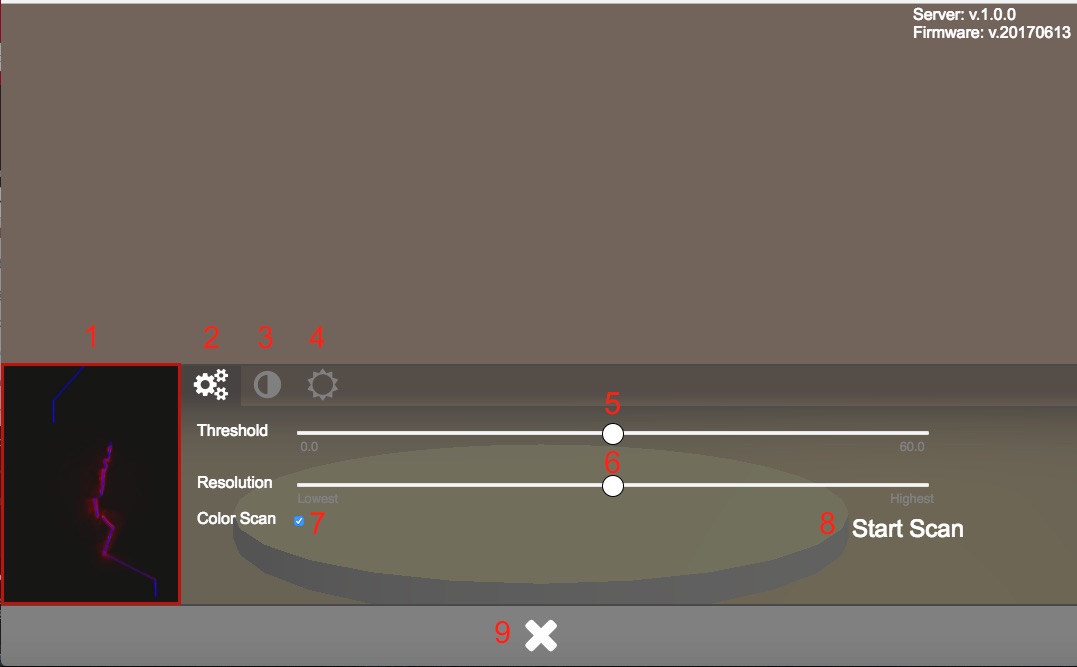
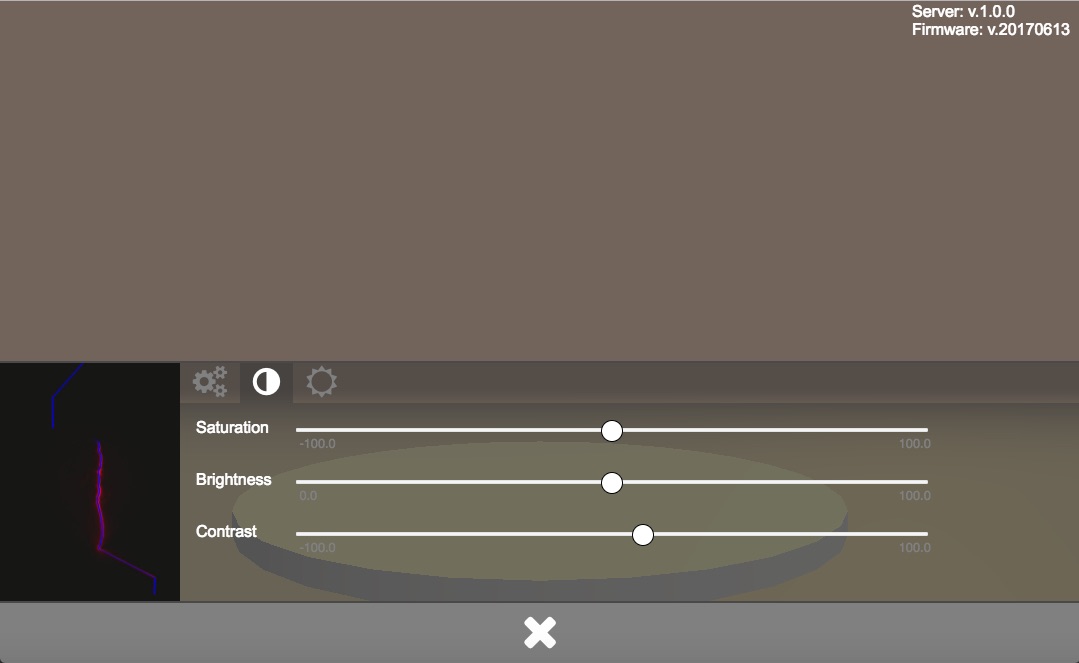
By clicking on the contrast-icon (3) you will get access to the camera settings menu. For adjusting the camera presets three sliders for saturation, brightness and contrast are available.
Click on the light-symbol (4) to get access to the lighting menu.
Here you can use the sliders to change the brightness and color of the (optional) light source. When all three sliders are at the very left end the light is off. Watch the preview in the lower left corner of the menu.
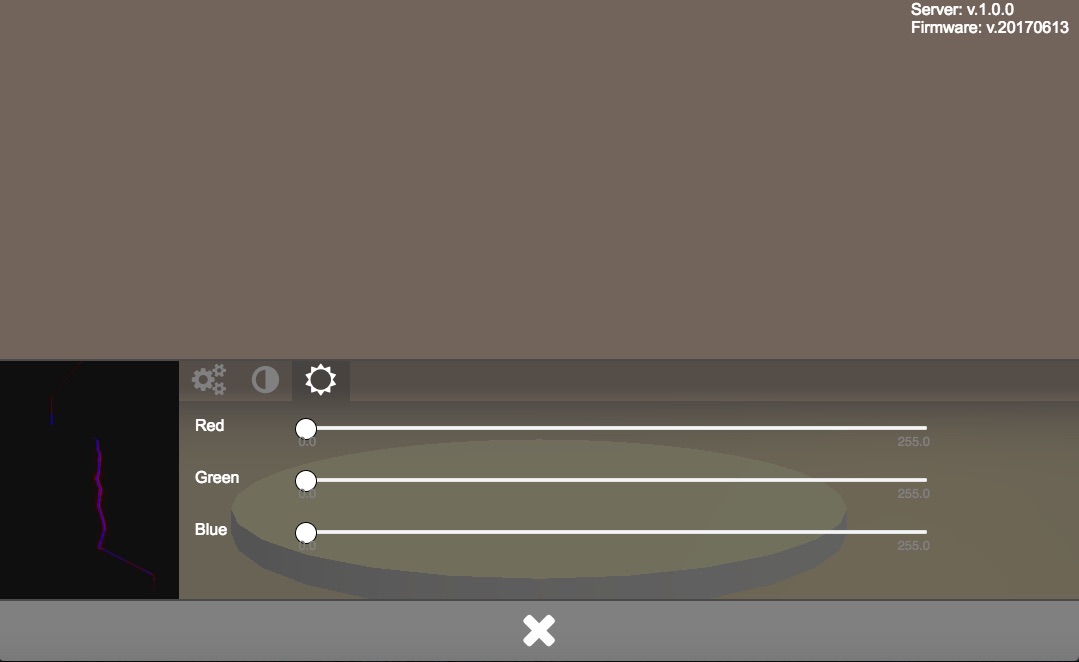
Note
The setting in the lighting menu will only cause an effect if an optional WS2812-compatible light source (e.g. Adafruit NeoPixel LED-Ring or FabScanPi-Camera-Holder) is installed. Click on the arrows-and-circle symbol (5) to get access to the alignment menu.
Perform a San
Scan with Color (slower)
- Make sure your FabScanPi is switched on, an object is placed on the turntable and the lid / the optional laser safety switch is closed.
- Open the web-interface as described in chapter [Getting Started](#gettingStarted).
- Click on the duckling-symbol to open the scan menu.
Note
If you do not have installed a light source you should perform a [monochrome scan](#monochromeScan).
- Adjust the scan preset values to your needs as described in chapter [Presets](#presets).
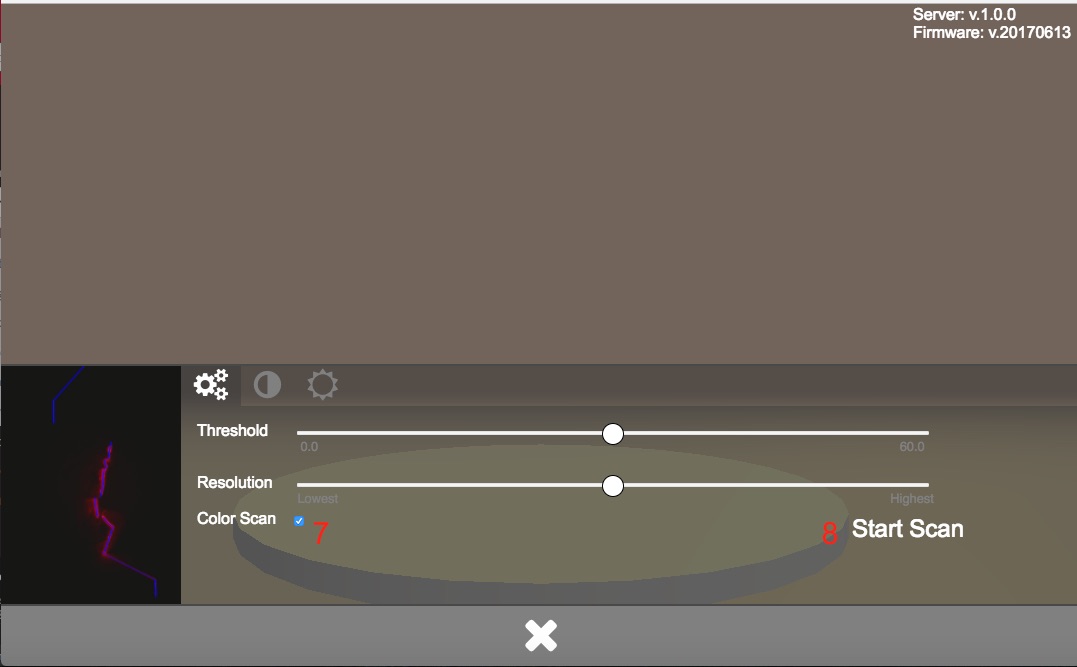
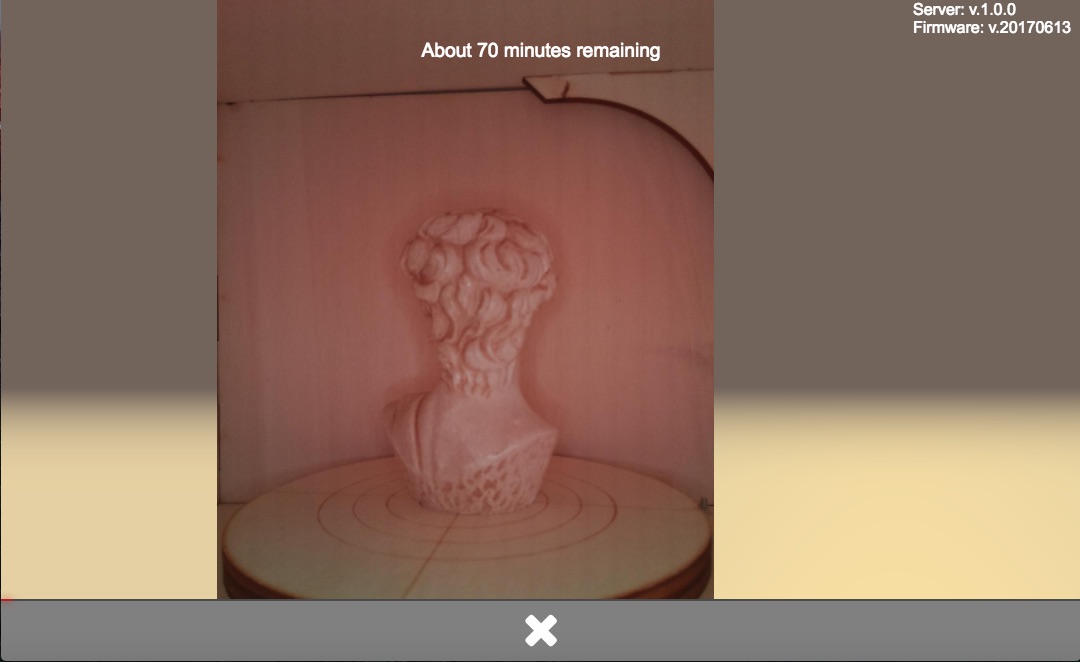
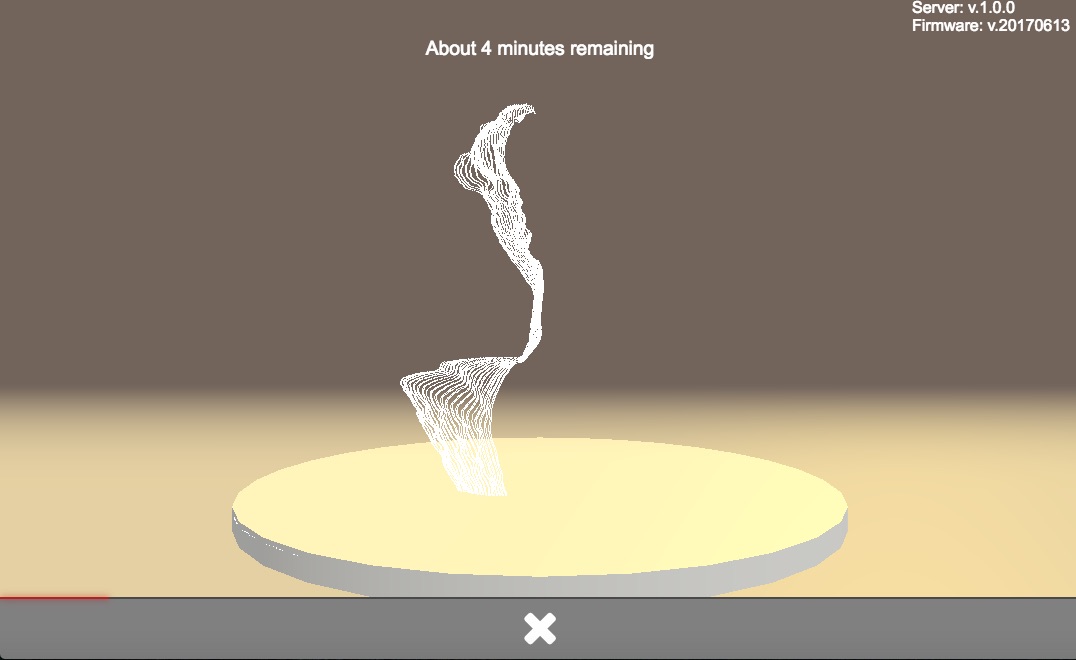
- Click on .Start Scan. to initiate the process A starting message will be displayed. Now the texture will be processed.

The latest photo will be displayed during the capturing process.
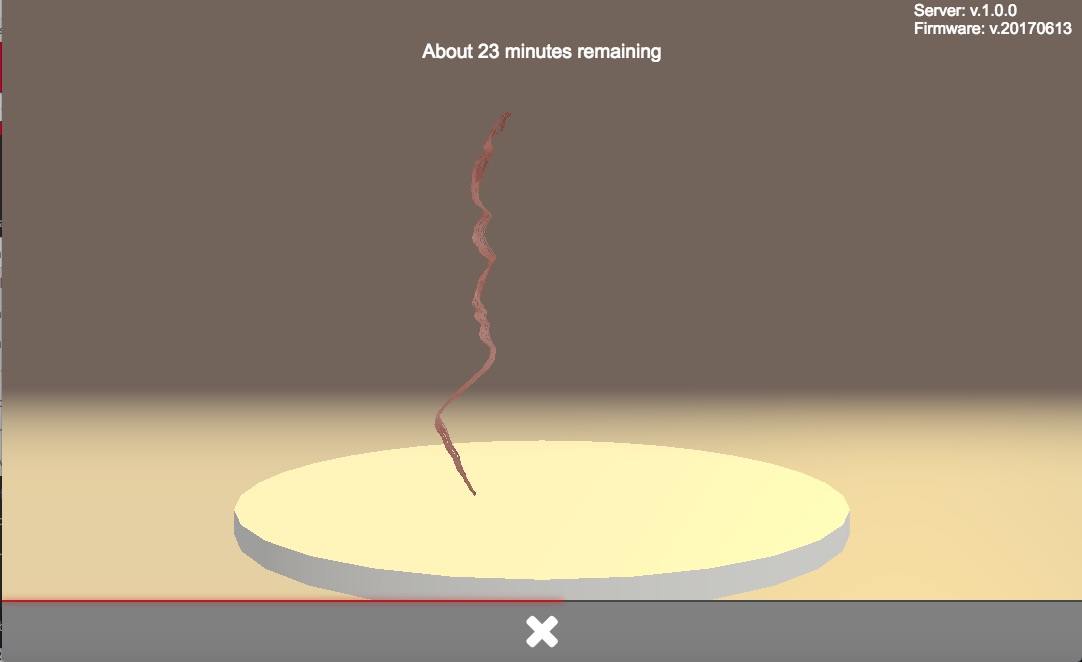
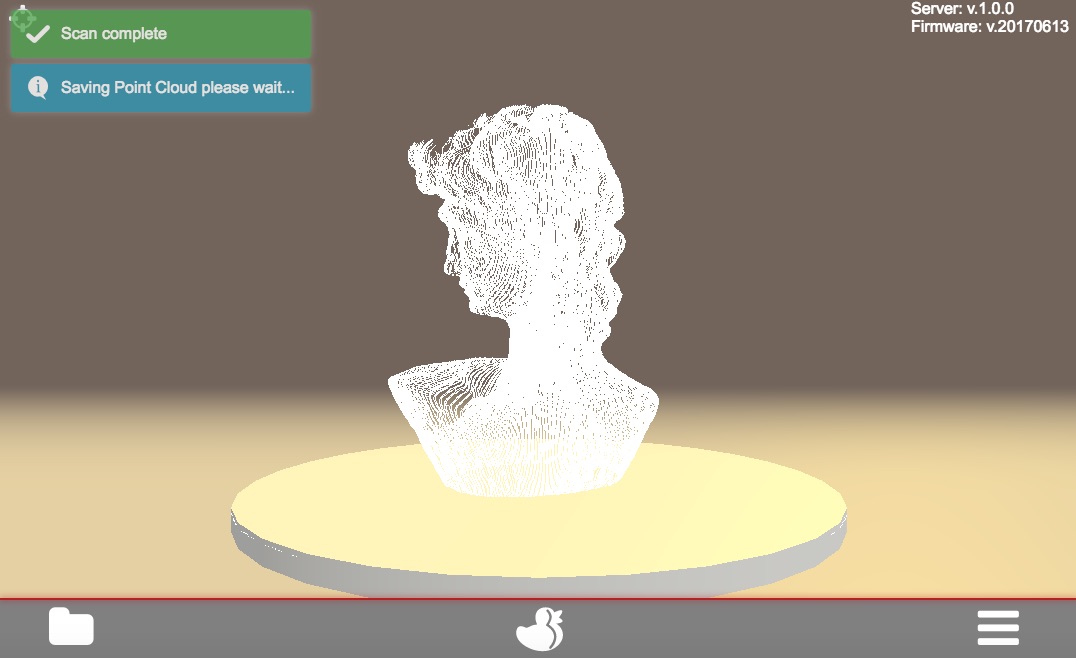
When the texture has been captured (progress bar at 50 percent) the actual scan is initiated. A notification is displayed.
A notification will be displayed when the scan is completed / file is saved.
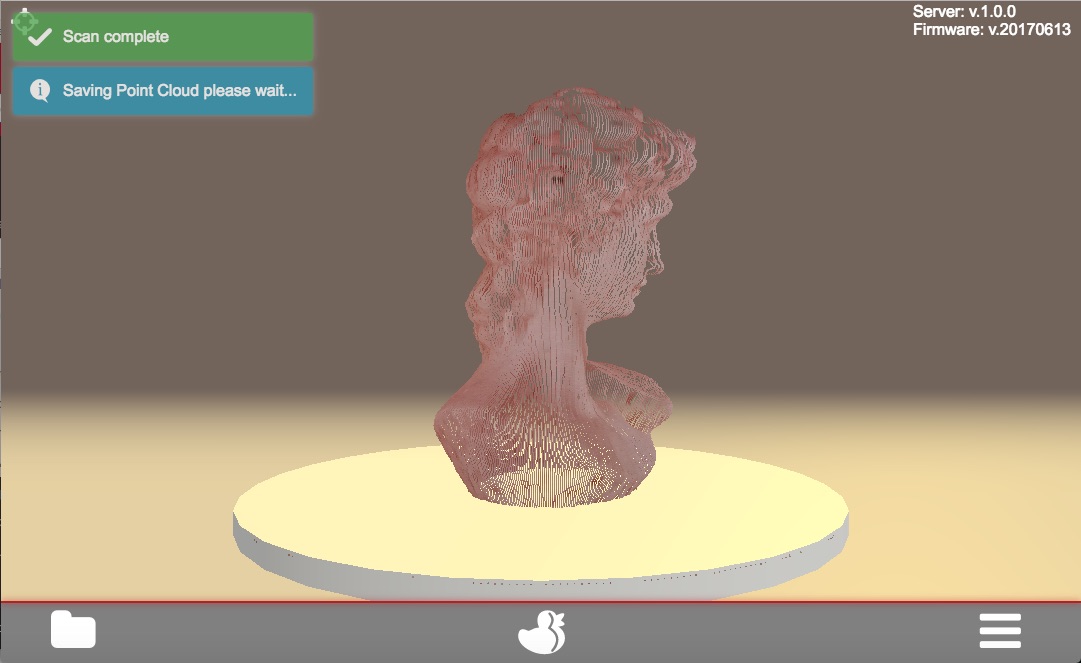
- You can now check, download or delete the scan-data.
Scan without Color (faster)
- Make sure your FabScanPi is switched on, an object is placed on the turntable and the lid / the optional laser safety switch is closed.
- Open the web-interface as described in chapter [Getting Started](#gettingStarted).
- Click on the duckling-symbol to open the scan menu.
- Adjust the scan preset values to your needs as described in chapter [Presets](#presets).
- Uncheck the color-scan option (8)
- Click on .Start Scan. to initiate the process A starting message will be displayed and the scan process is started.
When the scan is completed / file is saved a notification will be displayed.
- You can now check, download or delete the scan-data.
File Operations
Load Scans
A scan result which has been saved to the FabScanPi memory previously can be reloaded. Go to the main menu and click on the folder-icon at the left side of the menu bar.
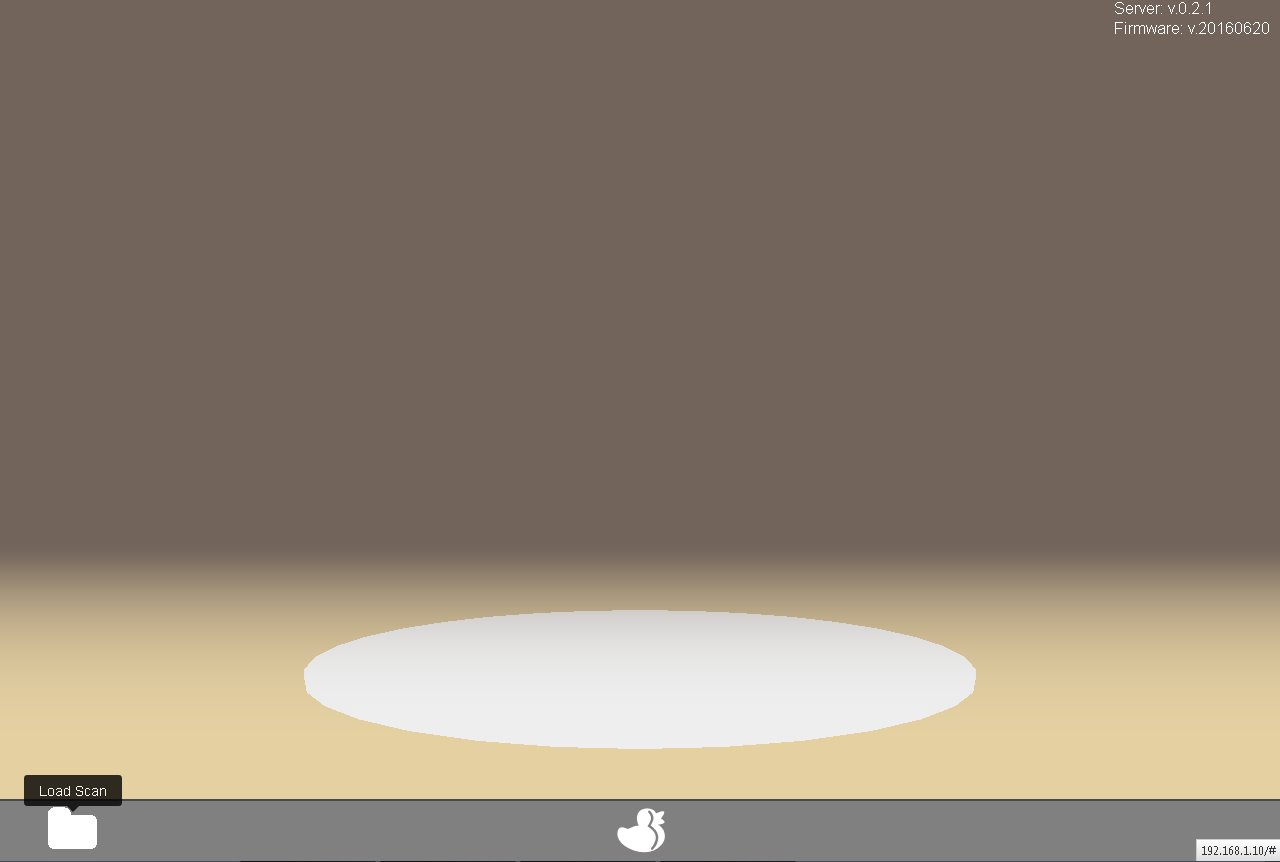
- Scroll through the displayed file inventory and click on the icon of the wanted file.
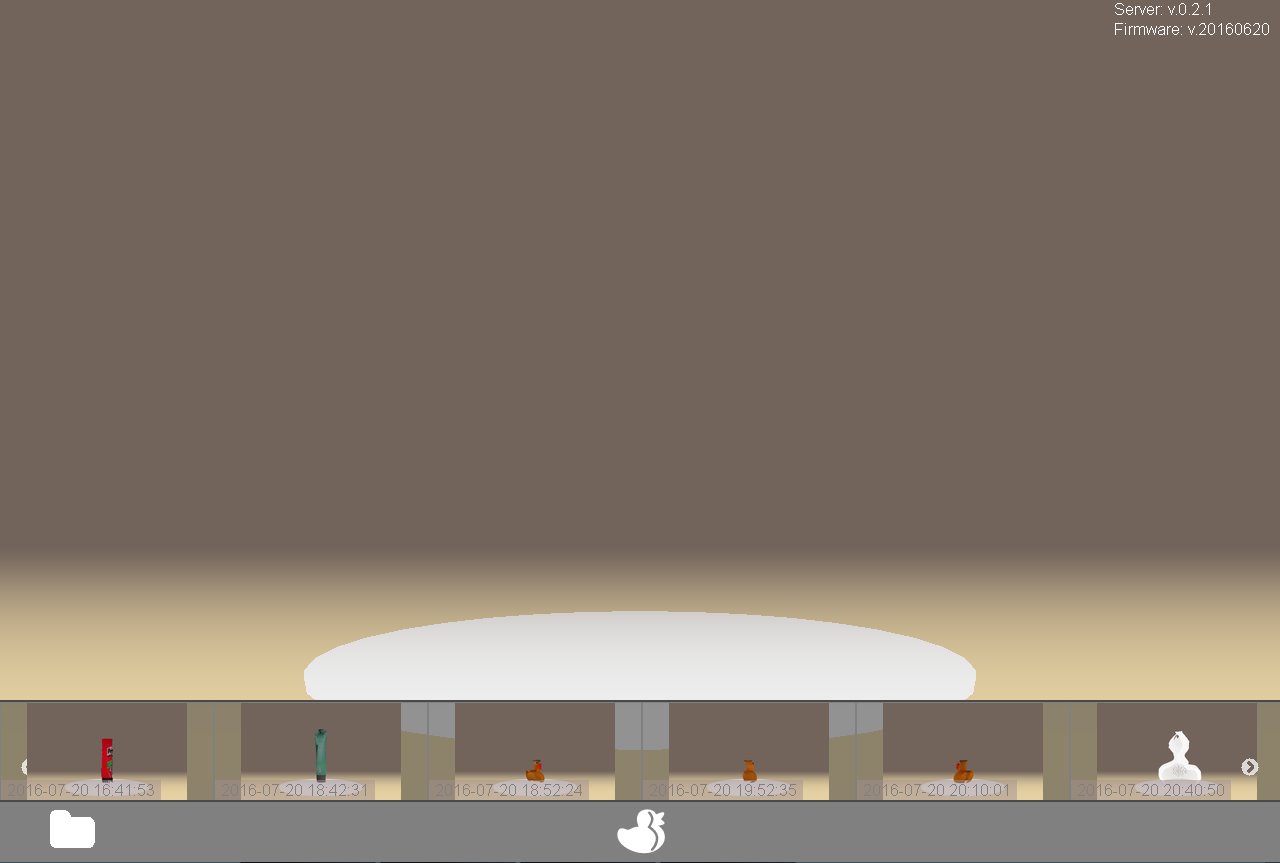
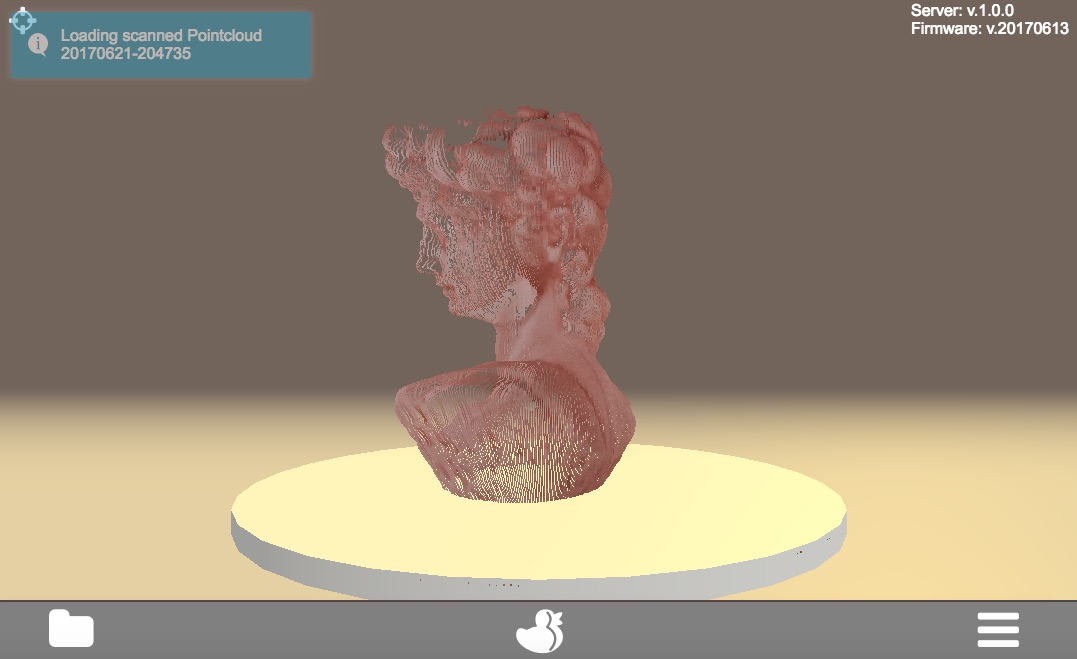
Now the selected file will be loaded which may need some time. After the loading process is finished a notification will be displayed.
Delete Scans
- Delete files
Delete a scan-file
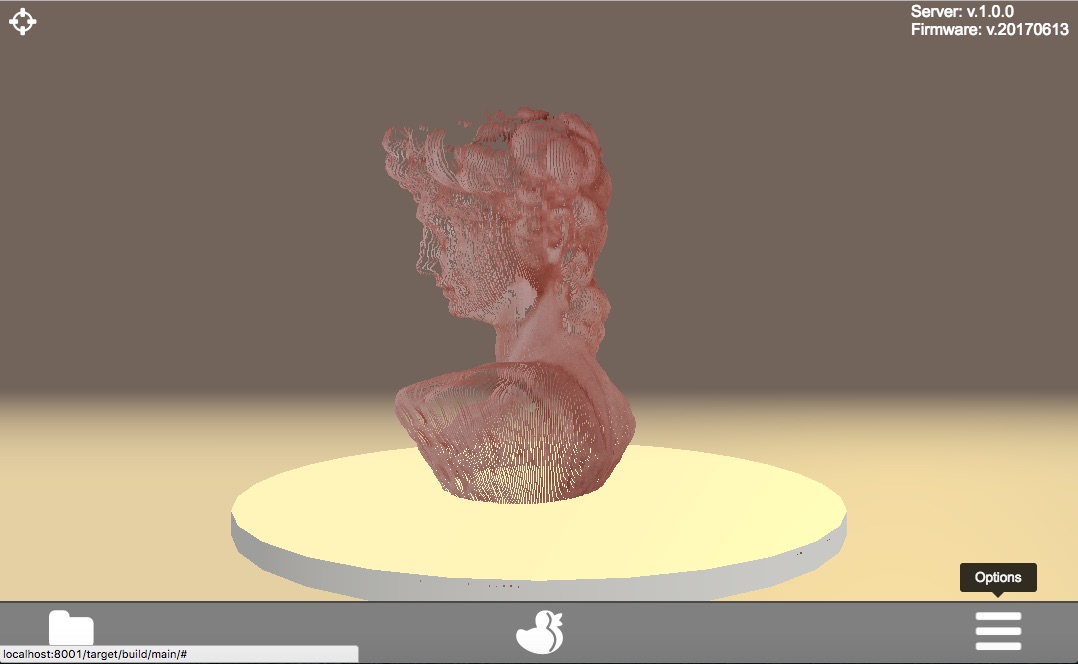
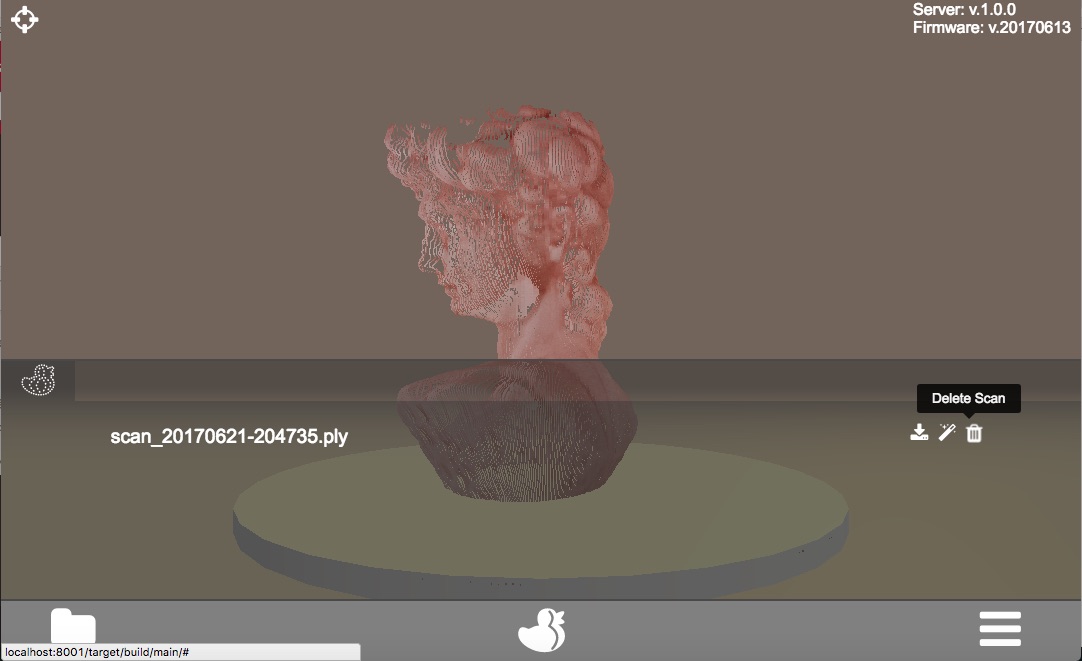
A scan result which has been saved to the FabScanPi memory previously can be deleted. To do that it must be loaded and displayed on the virtual turntable in the main menu. -Click on the options-icon on the right side of the menu bar.
Click on the wastebasket-icon to delete the scan-file.
Note
By deleting a scan file the corresponding mesh file (if available) will be deleted instantly.
Delete a mesh-file
Note: If a mesh file is available a second slide for the mesh file will be displayed.
By selecting the mesh slide and clicking on the wastebasket-icon the mesh-file can be deleted separately.
- Download Files It is possible to download generated files (either scan- or mesh-files) from the FabScanPi via the web-based user interface.
Download Scans
Download a scan-file
Note: Before you can download a file it must be [loaded](#loadFiles) and displayed on the virtual turntable in the main menu.
- Go to the main menu.
- Click on the options-icon on the right side of the menu bar.
- Click on the download-icon to download the mesh-file
- A download message (depending on the used web-browser) will be displayed
Download a mesh-file
Note: If a mesh file is available a second slide for the mesh file will be displayed.
- Select the mesh slide
- Click on the download-icon to download the mesh-file
- A download message (depending on the used web-browser) will be displayed