Installing the Software
Installing FabScan OS
The fastest way to start working with FabScan PI is to use the FabScan PI Raspberry OS Image.
For the installation you will need the following things:
- A computer with integrated or connected card reader
- A Micro-SD card with at least capacity of 8 GB
1. Download the latest Image
You need to download the latest image of the FabScanPi Software.
2. Install Raspberry Pi Imager
Download and install the latest version of Raspberry Pi Imager from
2. Writing the Image to SD
Now insert the Micro-SD card into the card reader which is connected with your computer and start the Raspberry Pi Imager software.
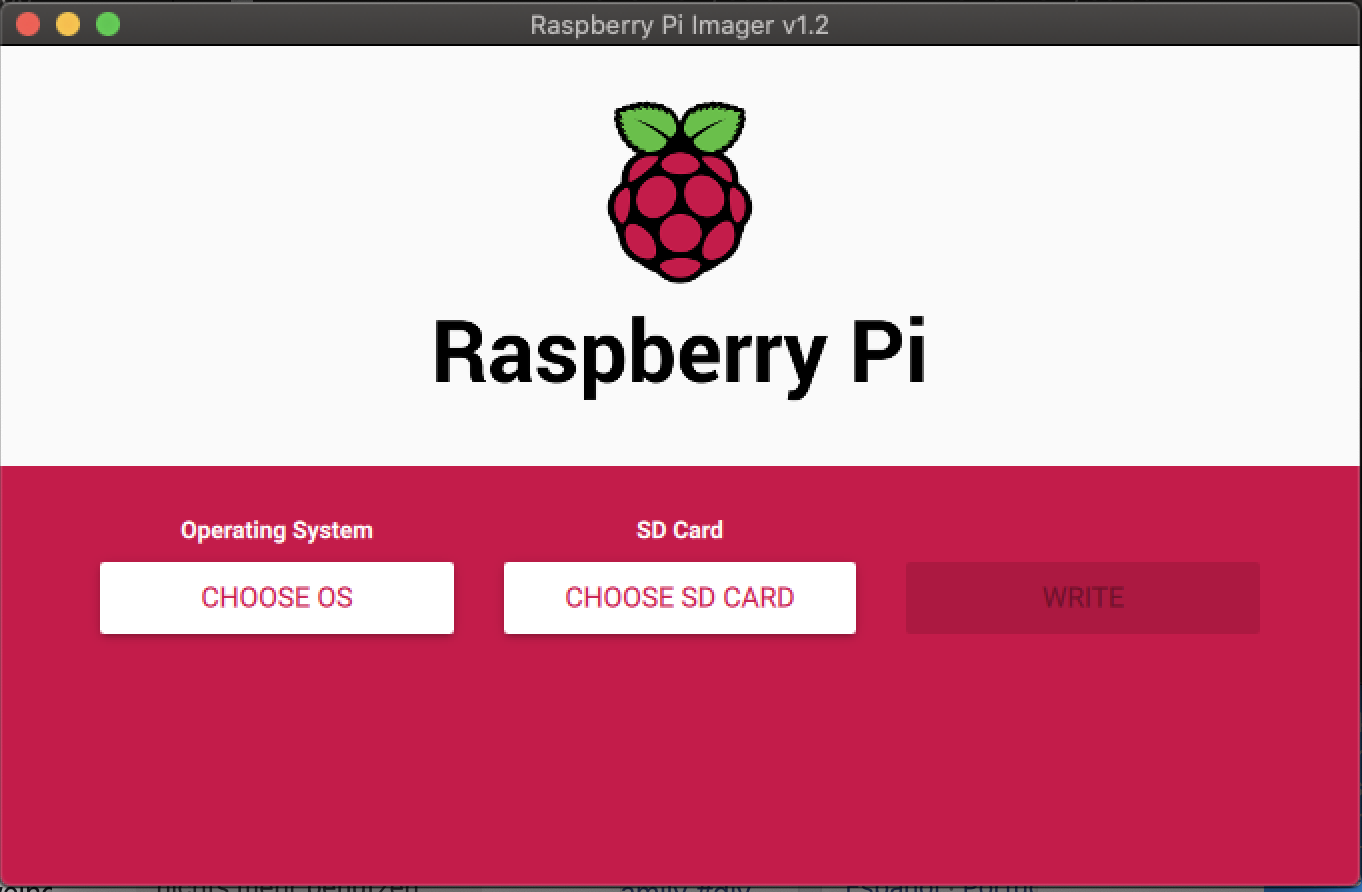
First you need to choose the downloaded FabScanPi SD-Card image. Just click on the “CHOOSE OS” button which will open a dialog.
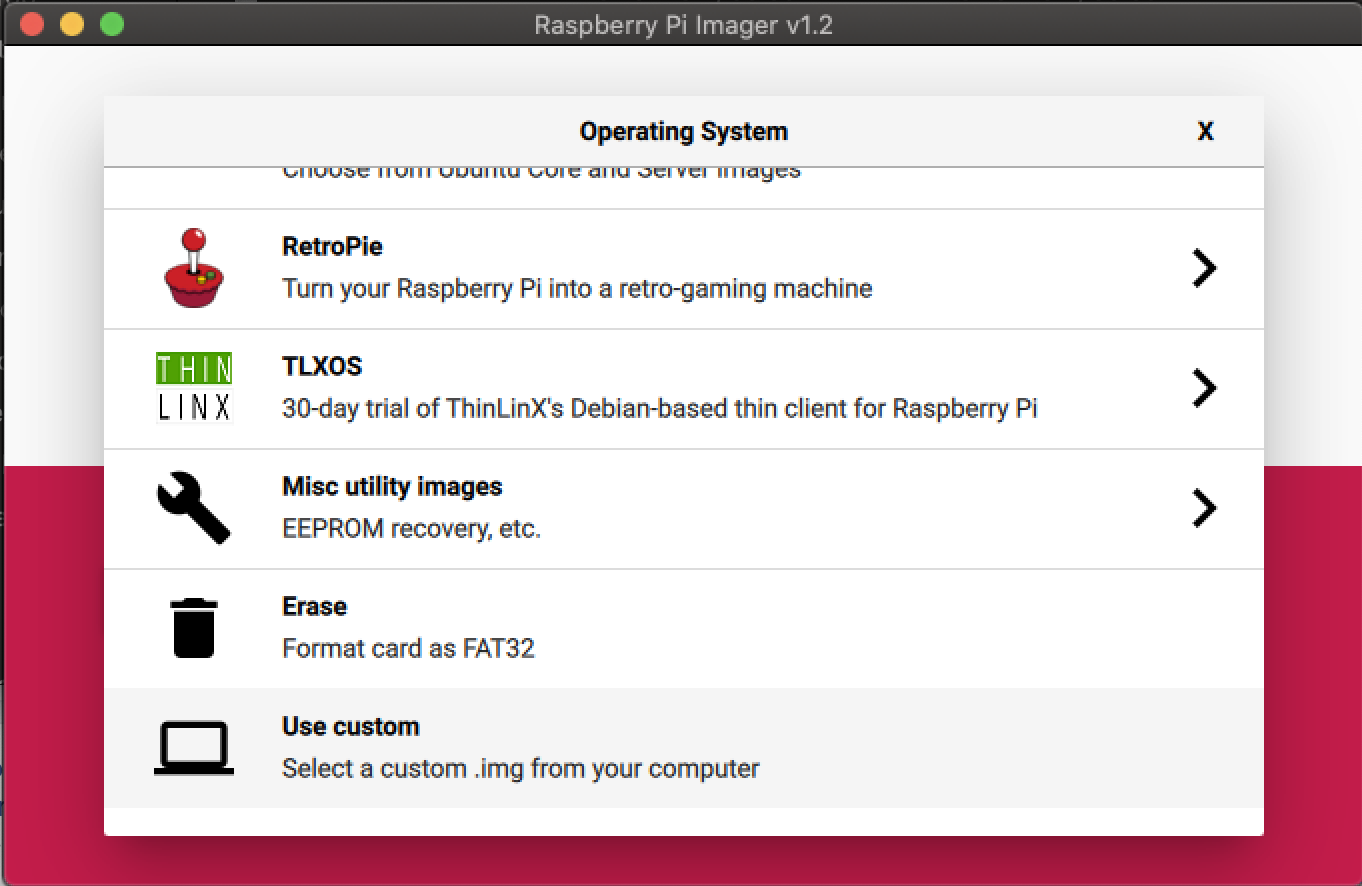
Scroll to the end of the list until you can see the entry named “Use custom”. A click on this entry opens a file dialog. Select the downloaded FabscanPi Image file. And confirm with “Ok”.
Note
Naming convention of a FabScanPi Release file.
image_<release-year>-<release-month>-<release-day>-FabScanPi-lite.zip
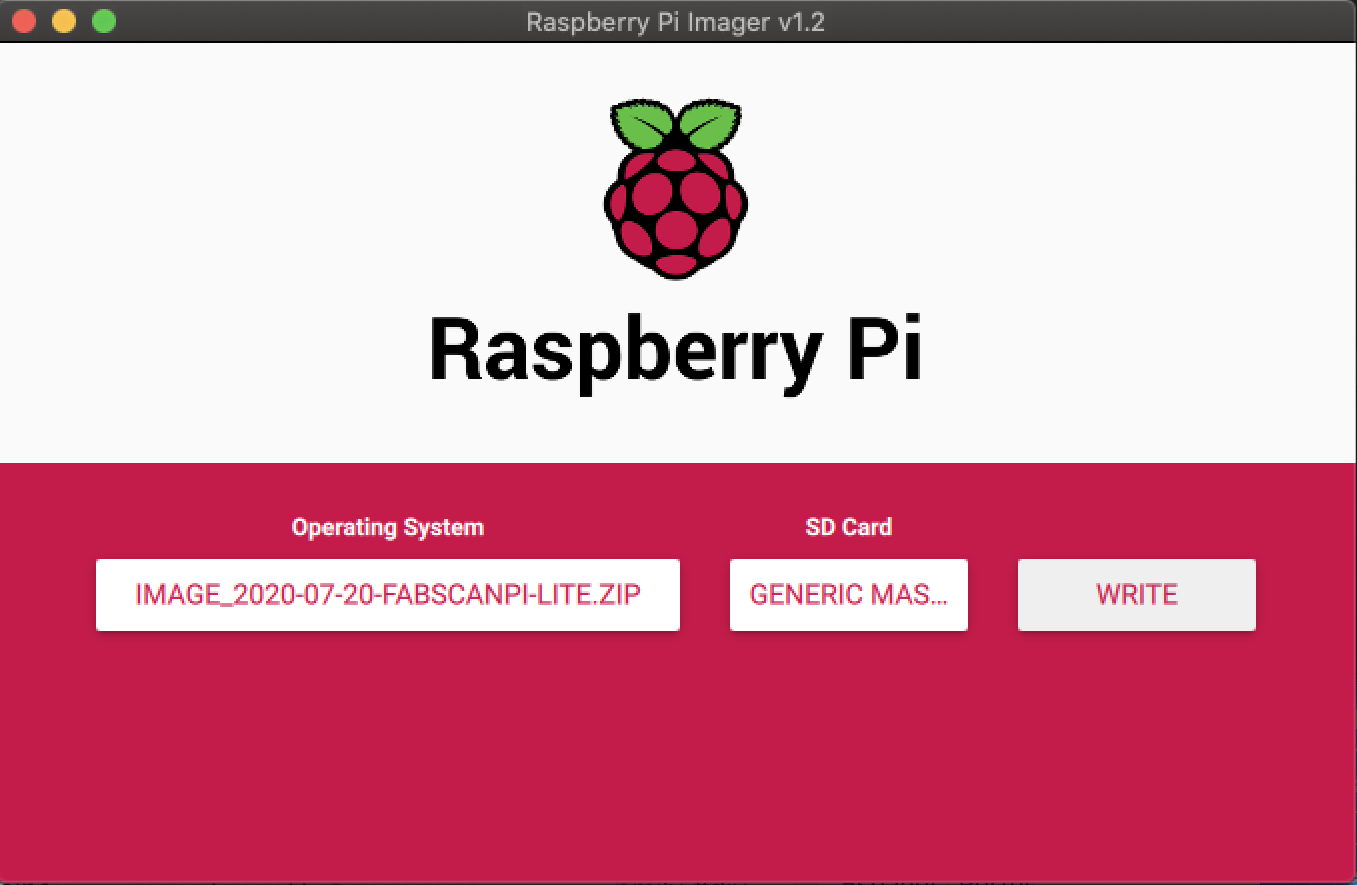
The file name should be shown as label of the button which was previously labeld with “CHOOSE OS”.
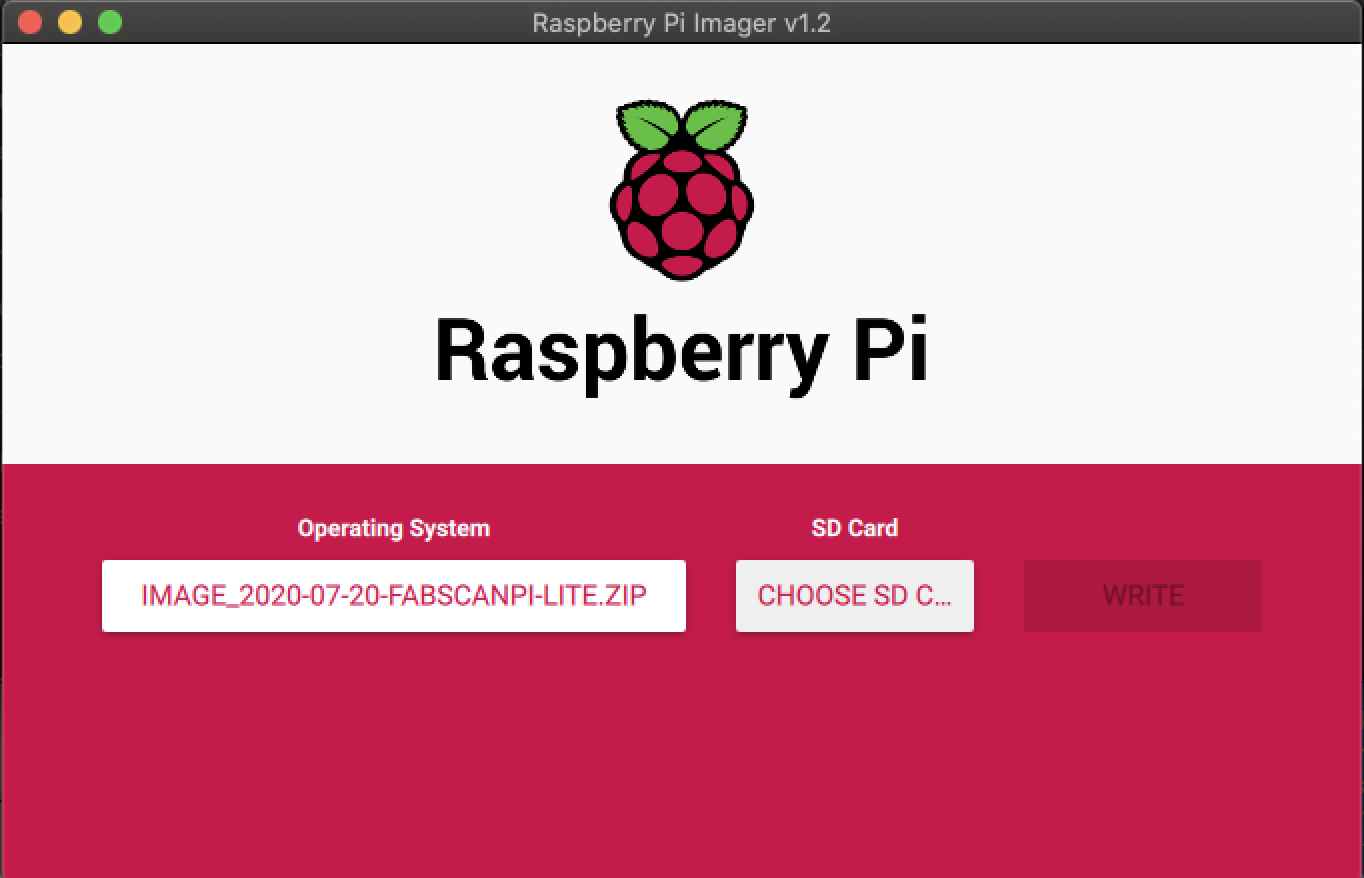
Next you need to choose the SD-card where the image should be wirtten on. Click on the second button which is labled with “CHOOSE SD CARD”. A dialog with available devices/sd-cards appears.
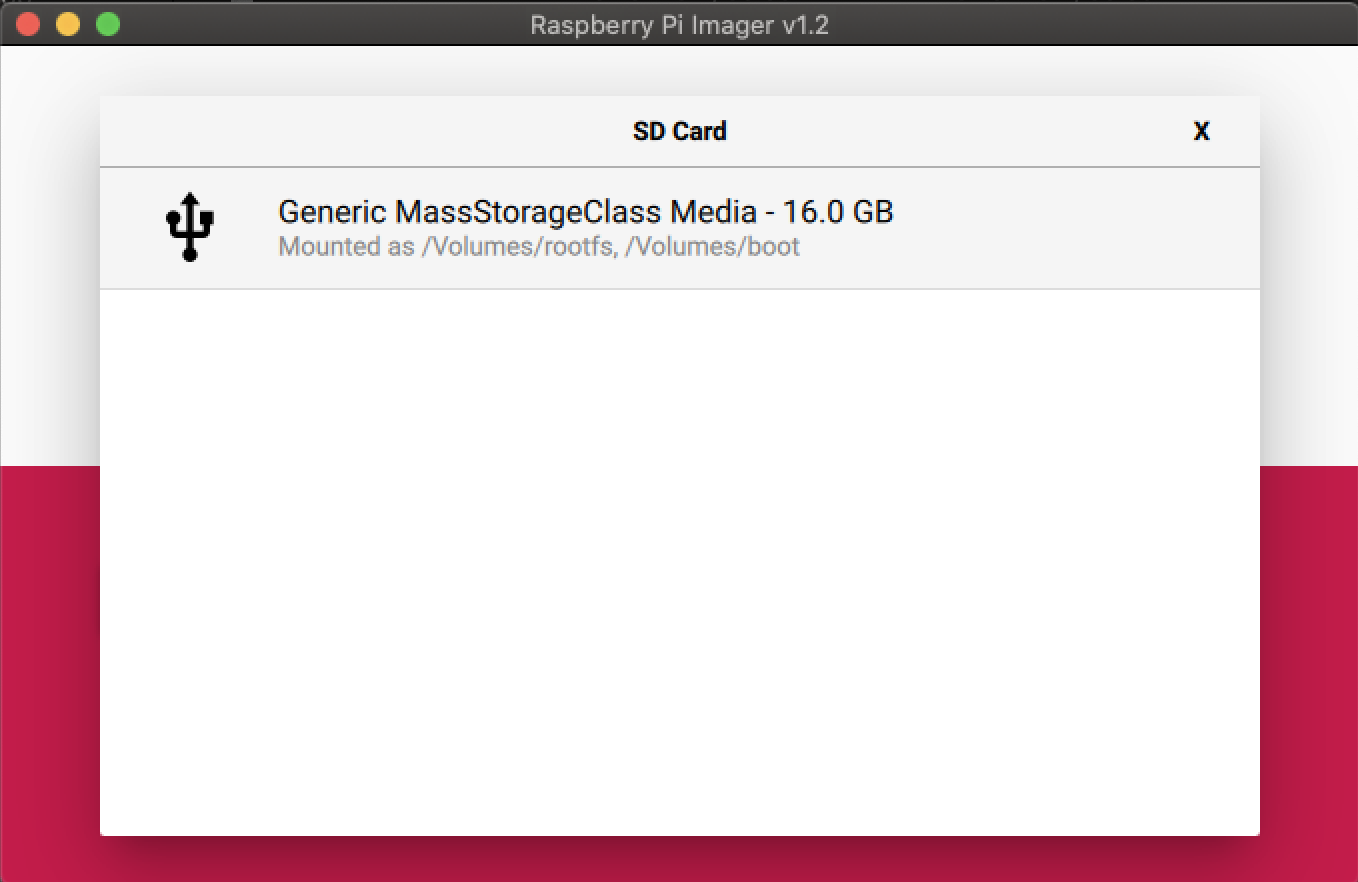
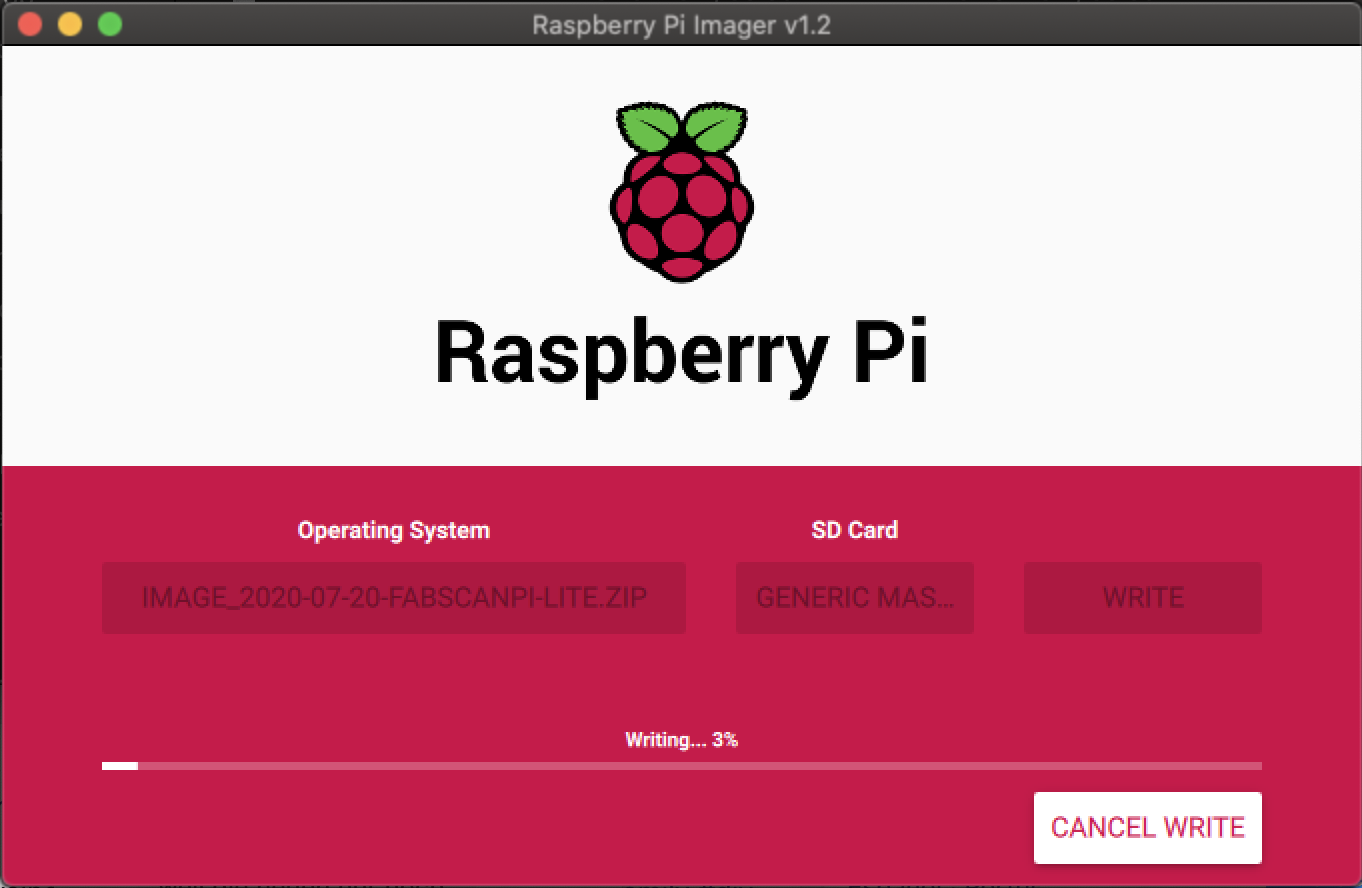
Select your sd-card for the installation. Raspberry Pi Imager will return to the main view. Finally click on the button labeled with “WRITE”.
The writing process begins and it will show you a message when the process is finished.
If you want to use Wifi follow the Wifi Installation Guide, otherwise you can remove the SD-Card form the SD-Card reader and insert it into the Raspberry Pi.
Now you can proceed with the next steps:
For FabScanPi based scanners.
For Ciclop based scanners